Ledger® Live: Desktop® — Getting Started™
Welcome to the Ledger® Live: Desktop® guide for getting started™. Ledger® Live Desktop® is a secure and intuitive application that allows you to manage your cryptocurrency wallets safely. With Ledger® Live Desktop®, users gain complete control over their assets while ensuring maximum security through offline private key storage.
What is Ledger® Live: Desktop®?
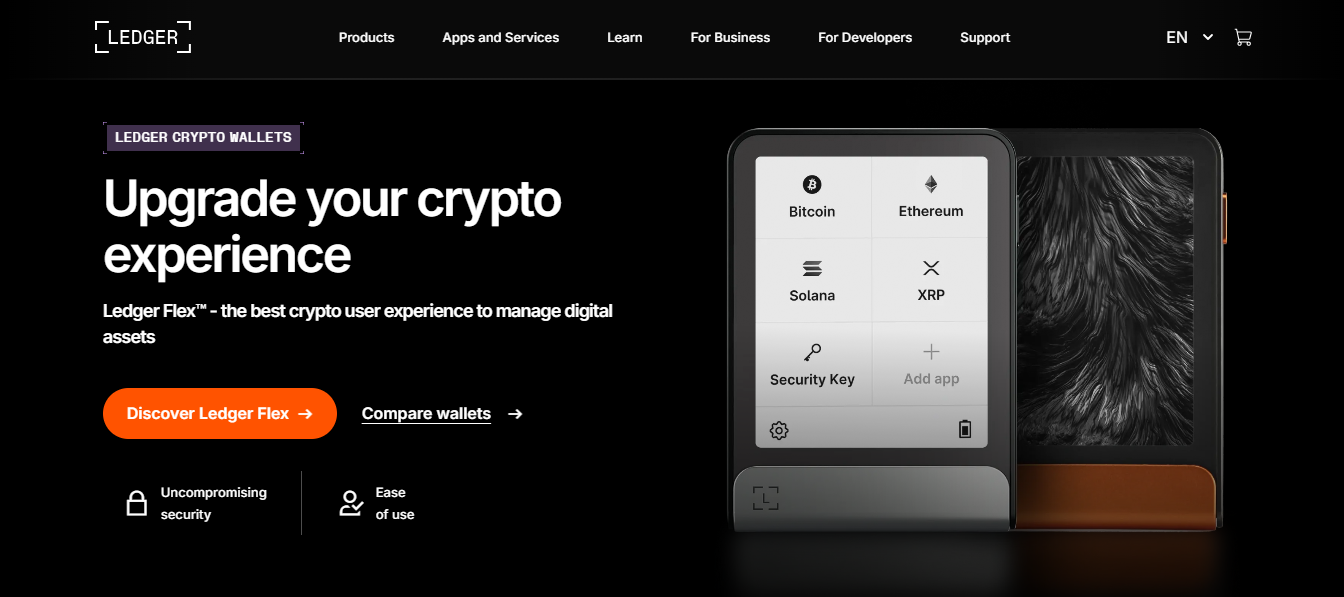
The Ledger® Live: Desktop® is the official desktop application from Ledger® for managing hardware wallets and crypto assets. It supports multiple cryptocurrencies and provides a seamless interface to monitor, send, and receive assets. Ledger® Live Desktop® works alongside Ledger® hardware wallets, keeping private keys offline to prevent exposure to online threats.
Key Features of Ledger® Live Desktop®
- Secure Asset Management: Add multiple wallets and manage cryptocurrencies in one application.
- Real-Time Portfolio Overview: Track the performance of your assets in real-time.
- Transaction History: Review past transactions and export them for records or taxes.
- Firmware Updates: Keep your Ledger® hardware wallet up to date through the app.
- Advanced Security: Protect your wallets with PIN codes, passphrases, and device verification.
Installing Ledger® Live: Desktop®
Getting started™ with Ledger® Live Desktop® is simple and secure. Follow these steps:
- Visit the official Ledger® website and download the Ledger® Live: Desktop® installer for your operating system.
- Run the installation file and follow the on-screen instructions to install the application.
- Open Ledger® Live Desktop® after installation.
- Connect your Ledger® hardware wallet to your computer using the provided USB cable.
- Set a secure PIN and back up your recovery phrase safely offline.
Using Ledger® Live Desktop®
Once installed, the Ledger® Live: Desktop® allows you to manage your wallets efficiently:
- Portfolio Dashboard: View your total holdings, asset distribution, and real-time market prices.
- Send & Receive Crypto: Initiate transactions and confirm them directly on your Ledger® hardware wallet.
- App Catalog: Install and manage apps for different cryptocurrencies supported by your Ledger® device.
- Notifications: Receive alerts for firmware updates and important security notifications.
Security Best Practices
Security is the cornerstone of Ledger® Live: Desktop®. Follow these best practices:
- Never share your recovery phrase or PIN with anyone.
- Download Ledger® Live Desktop® only from the official Ledger® website.
- Verify all transactions directly on your hardware wallet screen.
- Use a trusted computer and avoid public Wi-Fi when accessing your wallet.
- Enable optional passphrase protection for added security.
Managing Multiple Cryptocurrencies
The Ledger® Live: Desktop® supports a wide range of cryptocurrencies including Bitcoin, Ethereum, and hundreds of altcoins. You can add multiple wallets, track performance, and manage all your assets in a single, secure interface. Ledger® Live Desktop® also allows you to export transaction history for accounting or tax purposes.
Why Choose Ledger® Live Desktop®?
Ledger® Live Desktop® combines security, usability, and versatility. By keeping private keys offline and providing a clean, user-friendly interface, it is suitable for both beginners and advanced users. Ledger® Live Desktop® ensures your digital assets remain safe from phishing attacks, malware, and other online threats.
Conclusion
In summary, Ledger® Live: Desktop® — Getting Started™ provides a secure and intuitive way to manage your cryptocurrency wallets. By following setup instructions, using security best practices, and utilizing the application’s full features, you can confidently manage, send, and receive crypto while keeping your assets safe.
Disclaimer: This content is for informational purposes only. Cryptocurrency investments carry risks. Always download Ledger® Live: Desktop® from the official Ledger® website and follow security best practices.